So my house is in a bit of upheaval--we're attempting to finish our basement-- and I don't have great access to my vinyl supplies at the moment. I've been looking for another creative outlet.
On her birthday, my daughter received an "Our Generation" doll from Grandma and Grandpa. "Our Generation" is Target's version of an 18" doll. They have a lot of cute accessories that come with some of the dolls. My daughter received Jenny who comes with a little storybook as well as some supplies like a bowl, whisk, eggs, and pretend cupcakes. The advantage is the dolls, clothes and accessories are cheaper than the major brand cough:AmericanGirl:cough of 18" doll out there. (Which we still love to look at and wish we could afford).
Jenny
The hairdo, by the way, is courtesy of my daughter's efforts. It's a bit unusual up close, but she was letting her creative juices flow.

Jenny's book

A few of Jenny's accessories
In reading the story, we thought, "Wouldn't it be great if we could make some of Jenny's desserts?"
This started us on a bit of a baking bonanza. We've made pretzels and tiny cakes and cookies in her EasyBake Oven. We attempted a single tier topsy-turvy cake for Valentines Day. (I'll post pictures of that another day). We've made chocolate chip cookies and they were really delicious. My waistline however, cannot handle a continuous influx of sweets (I AM trying to lose weight--and it starts with the food I eat).
So what to do?
Now you need to know I come from a family of at least three generations of artistic women. My mom and sisters are all really creative. My mom paints, sews, and used to sell some of her creations in shops on consignment. Back when ducks and geese were all the rage, she sewed ducks out of various calico material, and then arrranged them with flowers inside crates that could be hung on the wall. One day I'll track down a picture of some of the things she made. My sisters draw, paint, stamp, design and are skilled photographers.
My grandmother had two main creative outlets. First she was a master gardener of roses. She had more types of rose than I could count, and she created a beautiful peaceful haven in her backyard. I have never met anyone with quite the same touch with roses and flowers as she had. Her second outlet was in working with her hands and making things. She made a felt wall hanging (which incorporated some embroidery) that placed at the state fair many, many years ago. Another project of hers was one that inspired me--my Grandma, knowing her granddaughters loved Barbies, made us all pretend food for Barbie out of polymer clay.
I wish I knew where my little tin of food was, but I don't. It was fantastic though. We had little cakes, doughnuts and chocolate chip cookies. She painstakingly made cabbages, lettuce and cauliflower as well as potatoes, carrots and a slew of other foods. I loved that tin of food and I played with it all of the time.
And each time I played with the food, I knew how much my Grandma loved me because she took the time to make something wonderful.
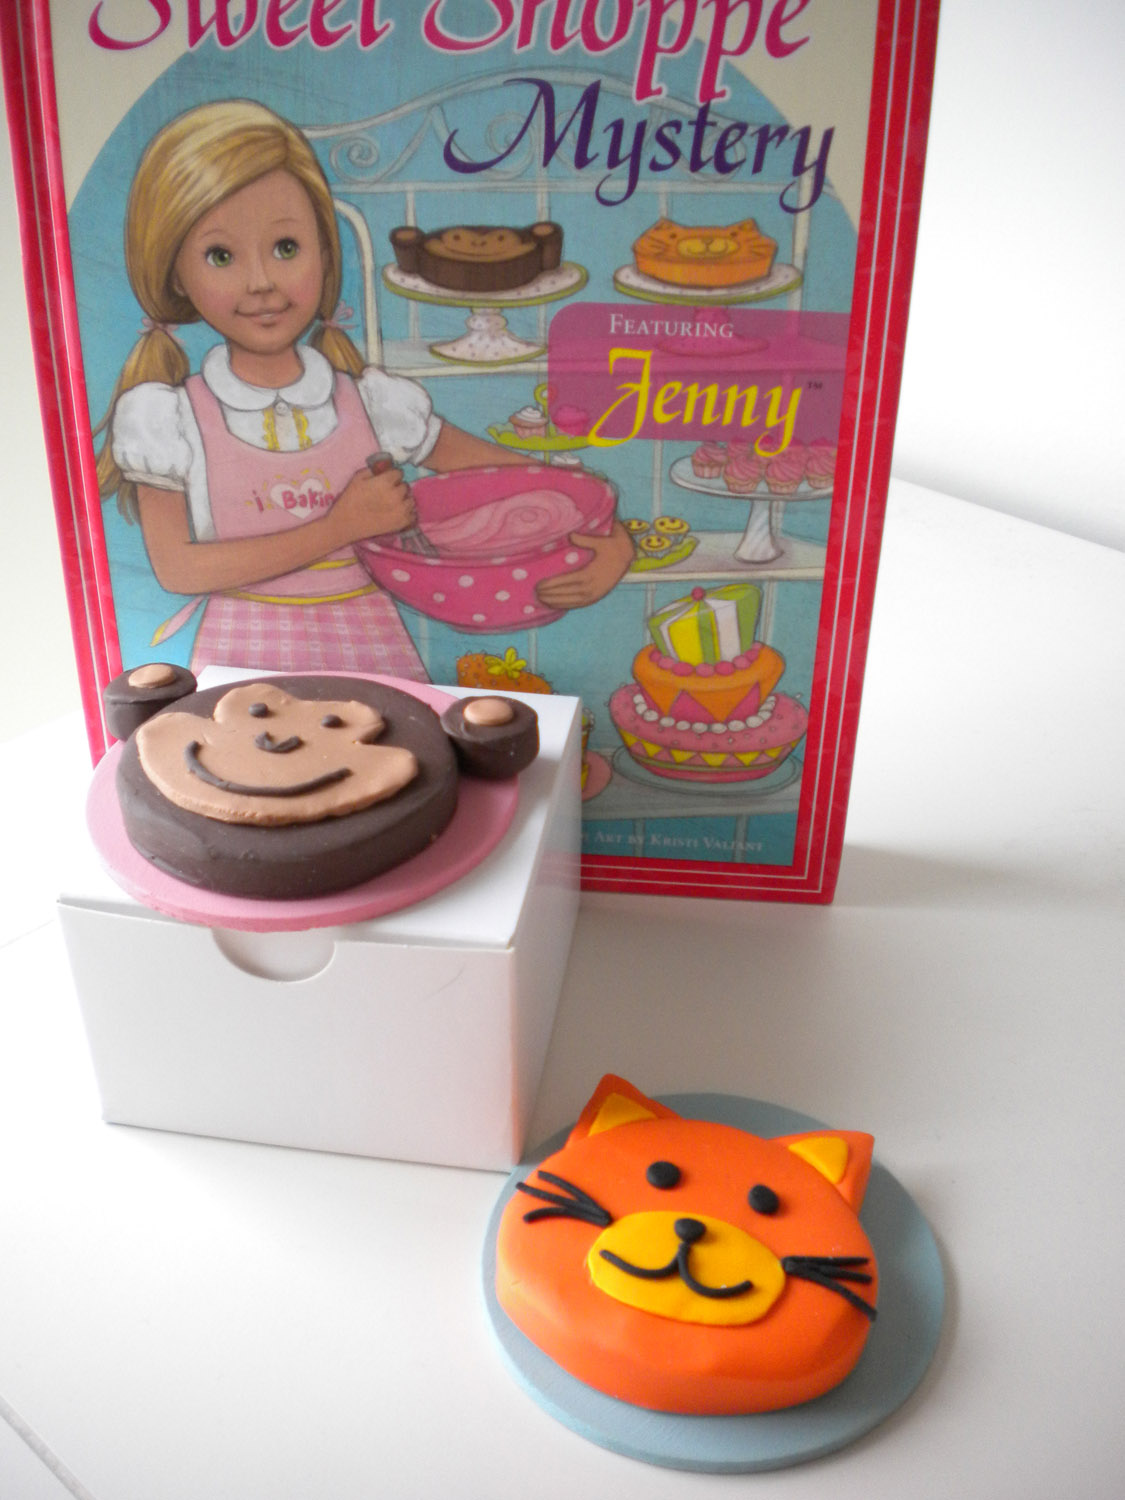
So, after talking it over with my daughter we decided to make some pretend food from polymer clay for her 18" doll, Jenny. We decided to tackle the various treats shown on the cover of Jenny's book.
The first thing we attempted was chocolate cupcakes with a white liner. The liner didn't turn out as well as I would have liked, but it works. We found an easier way to do cupcakes when we tried to create the smiley face ones. We created the whole base out of blue, then made sure our "fondant" faces would cover the whole base. This worked infiinitely better.
My first attempt at polymer clay food.

The better looking smiley cupcakes.

On a whim, I picked up the clay extruder when I picked up the clay. I'm sure glad I did! It made doing the smiles a lot easier than it would have been otherwise.
I even found little mini white "bakers boxes" for "Jenny's creations".

After we saw how cute these little cupcakes turned out, we were hooked! We definitely have a new hobby now, and for a while (at least until I can get my vinyl supplies unburied), I'll be posting pictures of our creations.

 First, take two sandwich cookies (think Oreo) and put a layer of whipped frosting between them.
 Second, frost all the way around the cookie.
 Third, add any extra embellishments (more frosting, sprinkles, etc.)
 Fourth, let them sit overnight (or for several hours at least). The moisture from the frosting makes the cookies soft.
 Fifth, bite into and enjoy!